
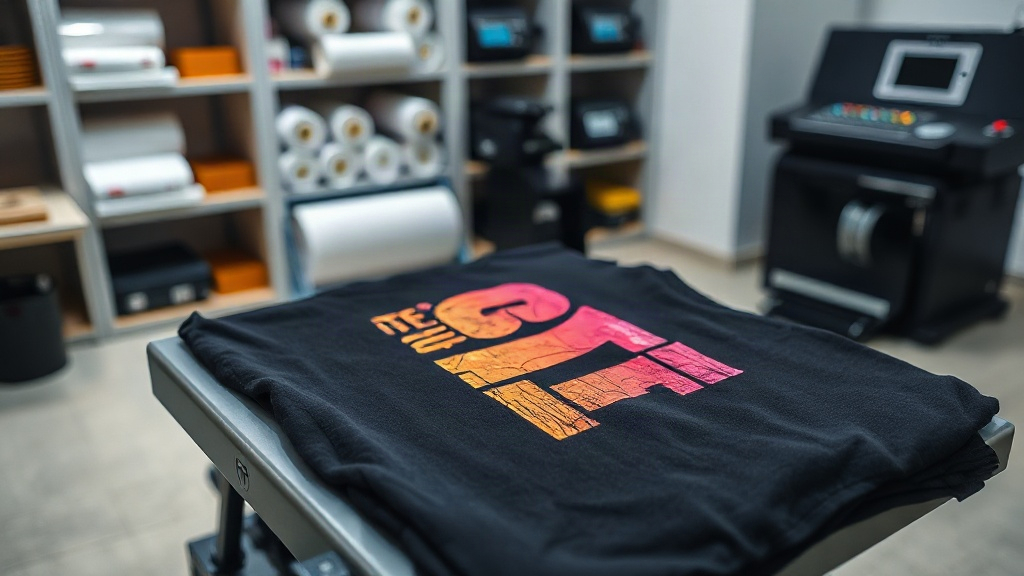
If you've been exploring custom apparel printing, you've likely encountered DTF Transfers. This innovative technology is rapidly gaining popularity for its versatility and vibrant results. Unlike traditional methods that require specific fabrics or complex setups, DTF (Direct to Film) transfers offer a straightforward way to bring your designs to life on a wide range of materials. In this guide, we'll walk you through the entire process, from creating your artwork to pressing it onto a garment, and share practical tips to help you achieve professional-looking prints every time.
What Are DTF Transfers?
DTF Transfers are a type of heat-applied transfer that involves printing your design onto a special film, coating it with a adhesive powder, and then using a heat press to transfer it onto fabric. The process begins with a digital printer that uses CMYK inks plus white to print the design onto a PET film. After printing, a fine thermoplastic powder is applied to the wet ink, which acts as the adhesive when heated. Once the powder is cured, the transfer is ready to be pressed onto a garment. This method allows for intricate details, gradients, and vibrant colors that stand out on both light and dark fabrics.
The DTF Transfer Process Step by Step
Understanding each stage of the DTF process is key to getting consistent, high-quality results. Let's break it down.
Step 1: Design Preparation
Start with a high-resolution image. Vector files are ideal, but high-quality PNGs (at least 300 DPI) work well. Remember that DTF printing uses a white ink base, so your design should have transparent backgrounds if you want the garment color to show through. Also, consider the final size: DTF transfers can be scaled, but extremely fine lines or tiny text may not reproduce perfectly.
Step 2: Printing onto Film
A DTF printer prints your design onto a special film. The printer lays down a layer of white ink first, followed by CMYK colors. This white layer is crucial for opacity on dark garments. After printing, the film is dusted with adhesive powder, which sticks to the wet ink. Excess powder is shaken off, and the film is heated to melt the powder, creating a smooth adhesive layer.
Step 3: Curing the Transfer
Curing is often done in a heat press or a dedicated curing oven. The goal is to melt the powder so it becomes a solid, flexible adhesive. Typical curing conditions are around 160°C (320°F) for 2-3 minutes. Overcuring can make the transfer brittle, while undercuring leads to poor adhesion. Follow your powder and film manufacturer's recommendations for best results.
Step 4: Pressing onto the Garment
Now comes the exciting part: transferring the design onto your fabric. Set your heat press to the temperature and time recommended for your transfer and fabric. Typically, this is around 150-160°C (300-320°F) for 15-20 seconds with medium pressure. Place the transfer on the garment with the printed side up, cover with a protective sheet (like parchment paper or a Teflon sheet), and press. After pressing, allow the transfer to cool completely before peeling off the film. You can peel either hot or cold, depending on the film type; cold peel is more common for DTF.
Why Choose DTF Transfers?
DTF transfers offer several advantages over other decoration methods. Here are a few reasons why they might be right for your next project:
- Versatility: DTF transfers work on a wide range of fabrics, including cotton, polyester, blends, and even some synthetic materials. They also adhere well to various colors, especially dark ones, thanks to the white ink base.
- No Weeding or Cutting: Unlike vinyl, DTF transfers don't require weeding or cutting. You simply print, powder, cure, and press. This saves time and reduces waste.
- Vibrant Colors and Fine Details: DTF printing can reproduce complex designs with gradients, shadows, and fine lines that other methods might struggle with.
- Durability: When applied correctly, DTF transfers are durable and can withstand repeated washing without cracking or fading.
Common Challenges and How to Overcome Them
Even though DTF is user-friendly, you might encounter some issues. Here's how to troubleshoot them.
Poor Adhesion
If the transfer peels off after washing, it could be due to insufficient pressure, incorrect temperature, or undercuring. Ensure your heat press is calibrated and apply consistent pressure. Also, make sure the powder is fully melted during curing.
Color Fading or Cracking
Overcuring or using too high a temperature can cause the transfer to become brittle and crack. Always follow the recommended settings. Additionally, washing the garment inside out in cold water and avoiding harsh detergents can extend the life of the print.
Film Sticking to the Garment
If the film sticks and is difficult to peel, it might be due to incomplete cooling or insufficient powder. Allow the transfer to cool completely before peeling. If the problem persists, check that the powder is evenly applied and fully cured.
Tips for Best Results with DTF Transfers
To ensure your DTF transfers look professional and last long, keep these tips in mind:
- Pre-press the garment: This removes moisture and wrinkles, ensuring a smooth surface for the transfer.
- Use a heat press, not an iron: A heat press provides even pressure and consistent temperature, which are critical for DTF.
- Test your settings: Every heat press is different, so do a test press to find the optimal temperature, time, and pressure for your setup.
- Store transfers properly: Keep unused transfers in a cool, dry place away from direct sunlight to prevent the adhesive from activating prematurely.
Frequently Asked Questions
Can I use DTF transfers on 100% polyester?
Yes, DTF transfers work well on polyester. However, polyester is heat-sensitive, so you should use a lower temperature (around 140-150°C) and shorter pressing time to avoid scorching. Always test on a scrap piece first.
How do I wash garments with DTF transfers?
Turn the garment inside out and wash in cold water with mild detergent. Avoid bleach and fabric softeners. Tumble dry on low or hang to dry. Following these care instructions will help the print last for many washes.
What is the shelf life of DTF transfers?
When stored properly in a cool, dry place, DTF transfers can last up to 6 months or more. Exposure to moisture or heat can shorten their shelf life, so keep them sealed until ready to use.
Do I need a special printer for DTF?
Yes, DTF printing requires a dedicated DTF printer that uses DTF inks and can handle the film. However, you can also purchase pre-printed transfers from suppliers if you don't want to invest in a printer.
Can DTF transfers be applied to cotton?
Absolutely. DTF transfers adhere excellently to cotton and cotton blends. The white ink base ensures vibrant colors on dark cotton fabrics.