
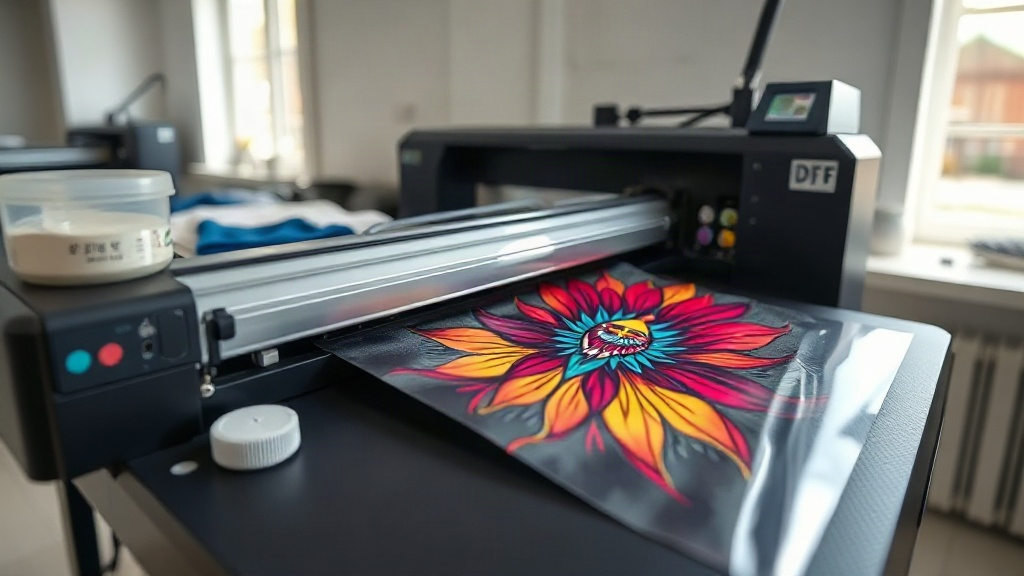
If you've been exploring custom apparel decoration, you've likely encountered DTF printing. It's a digital transfer method that's taken the garment industry by storm, offering vibrant colors and incredible detail on a wide range of fabrics. Unlike other techniques, DTF doesn't require pre-treating or special coatings, making it accessible for both hobbyists and professionals. In this guide, I'll walk you through the entire DTF process, share insights from my own experience, and give you actionable tips to get started.
What Exactly is DTF Printing?
DTF stands for Direct to Film. It's a printing method where your design is printed onto a special PET film using water-based pigments, then coated with a hot-melt adhesive powder. After curing, the transfer is ready to be applied to fabric with a heat press. The magic lies in the adhesive powder: it melts and bonds with the fabric fibers, creating a durable, stretchable print that feels soft to the touch. Because the design is printed on film first, you can apply it to cotton, polyester, blends, and even treated nylon. This versatility is why DTF has become a go-to for small businesses and DIY enthusiasts.
The DTF Printing Process Step by Step
Understanding the workflow is key to consistent results. Let's break it down.
1. Design Preparation
Start with a high-resolution image. DTF printers can reproduce fine details, so ensure your file is at least 300 DPI. Remember to mirror your design horizontally because you'll be pressing it face down onto the fabric. If you're using white ink, the printer will lay down a white base layer, so your design should have transparent backgrounds where you want the fabric to show through. I always double-check the mirroring setting; it's a common rookie mistake that leads to backward text.
2. Printing onto Film
Load your DTF film into the printer, smooth side up. The printer lays down CMYK and white ink in a single pass. The white ink is crucial for opacity on dark garments. After printing, you'll see a wet, slightly raised image. Handle the film carefully to avoid smudging. Some printers have a built-in powder shaker, but if you're using a separate unit, move to the next step promptly.
3. Applying Adhesive Powder
While the ink is still wet, sprinkle the hot-melt adhesive powder evenly over the design. Then, tilt the film and gently shake off the excess. You want a uniform coating that sticks only to the ink. A common mistake is applying too much powder, which can lead to a rough texture. I use a soft brush to spread the powder and ensure even coverage. Work in a well-ventilated area, as fine powder can become airborne.
4. Curing the Transfer
Curing melts the powder and dries the ink, creating a flexible, bondable layer. You can use a heat press or a dedicated curing oven. Set your heat press to 320°F (160°C) and press for 2-3 minutes with light pressure. Alternatively, a conveyor oven at 320°F for 2-3 minutes works well. The transfer is fully cured when the powder turns from white to a clear, glossy finish. Overcuring can make the transfer brittle, so stick to the recommended time and temperature.
5. Pressing onto Fabric
Now the fun part: applying your transfer. Set your heat press to 320°F (160°C) with medium pressure. Place the transfer face down on the garment, cover with a protective sheet (like parchment paper or a Teflon sheet), and press for 15-20 seconds. For best results, pre-press the garment for a few seconds to remove moisture. After pressing, peel the film while it's still warm for a matte finish, or let it cool for a glossier look. I prefer warm peel because it reduces the chance of the film sticking to the design.
Why Choose DTF Over Other Methods?
DTF offers several advantages that make it stand out:
- No weeding: Unlike vinyl, there's no tedious cutting and weeding.
- Full-color: Print gradients, photographs, and fine details with ease.
- Fabric versatility: Works on cotton, polyester, blends, and more.
- Durability: Properly applied transfers withstand dozens of washes.
- Soft feel: The print remains flexible and doesn't crack easily.
However, it's not without challenges. The process requires multiple steps and a learning curve, but once mastered, it's incredibly rewarding.
Common Pitfalls and How to Avoid Them
Even experienced printers run into issues. Here are some I've encountered and how to fix them:
- Insufficient powder: Leads to poor adhesion. Ensure even coverage and shake off excess.
- Incorrect pressure: Too little pressure causes incomplete transfer; too much can distort the design. Adjust your press.
- Temperature variations: Always use a heat gun or infrared thermometer to verify press temperature.
- Film choice: Not all films are created equal. Experiment with different brands to find what works for your printer.
- Storage: Keep unused film sealed to prevent moisture absorption, which can affect print quality.
Essential Equipment for DTF Printing
To get started, you'll need:
- A DTF printer (e.g., Epson converted models or dedicated DTF printers).
- DTF film (double-sided matte or glossy).
- Hot-melt adhesive powder.
- Heat press or curing oven.
- Heat-resistant tape and protective sheets.
- Design software (Photoshop, Illustrator, or free alternatives like GIMP).
Budget-friendly starter kits are available, but investing in quality equipment pays off in the long run.
Applications of DTF Printing
DTF isn't just for t-shirts. It's used for:
- Custom apparel (hoodies, jeans, jackets).
- Activewear (leggings, sports jerseys).
- Accessories (tote bags, hats).
- Home decor (pillows, aprons).
- Promotional items (uniforms, event merch).
The possibilities are vast, limited only by your creativity.
Frequently Asked Questions
How long does a DTF transfer last?
With proper application and care, a DTF transfer can last 50+ washes. Wash inside out in cold water and avoid harsh detergents.
Can I use DTF on 100% polyester?
Yes, DTF works well on polyester. However, lower temperatures (around 300°F) are recommended to prevent dye migration. Always test on a scrap piece first.
Do I need a special printer for DTF?
You can convert an Epson printer with DTF ink and a powder shaker, or buy a dedicated DTF printer. Dedicated models are more expensive but offer better reliability.
What's the difference between DTF and DTG?
DTF involves printing on film and transferring, while DTG (Direct to Garment) prints directly onto the fabric. DTF is more versatile with fabrics and doesn't require pre-treatment.
How do I store DTF transfers?
Store them in a cool, dry place, away from direct sunlight. Place them in a sealed bag to prevent moisture damage. Use within a few weeks for best results.
Mastering DTF printing opens up a world of customization. With practice and attention to detail, you'll be producing professional-quality transfers in no time. Remember, every mistake is a learning opportunity. Happy printing!