
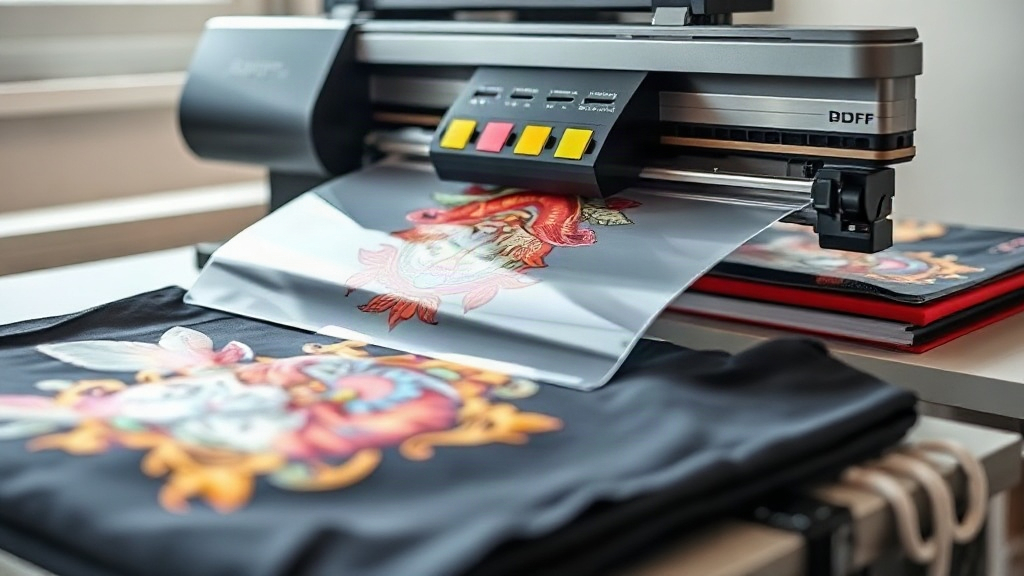
If you've been exploring custom apparel, you've likely encountered DTF printing. Short for Direct-to-Film, this technology has quickly become a favorite among hobbyists and professionals alike for its ability to produce vibrant, detailed designs on a wide range of fabrics. Unlike traditional methods that require specific material blends, DTF printing offers unmatched versatility. In this guide, we'll walk you through the essentials of DTF printing, from the basic process to practical tips that will help you achieve professional results at home.
What Exactly Is DTF Printing?
DTF printing is a digital printing method where your design is printed onto a special film, coated with a hot-melt adhesive powder, and then transferred to fabric using a heat press. The magic lies in the film: it holds the ink and adhesive, allowing the design to bond permanently to the material. This process works on cotton, polyester, blends, and even treated leather, making it far more flexible than DTG (Direct-to-Garment) or vinyl cutting.
The key advantage? No pre-treatment is needed for most fabrics, and the colors remain vivid after washing. Plus, DTF transfers can be applied to dark and light garments with equal ease, which is a common limitation for other methods.
How DTF Printing Works: Step by Step
Understanding the workflow helps you troubleshoot and improve your results. Here's a breakdown of the DTF printing process:
- Design Preparation: Create your artwork in a graphic design software. Remember to mirror the image horizontally before printing, as the transfer will be flipped when applied.
- Printing: Using a DTF printer, the design is printed onto a PET film. White ink is typically printed as a base layer to make colors pop on dark fabrics.
- Powdering: While the ink is still wet, a hot-melt adhesive powder is applied evenly over the print. Excess powder is shaken off.
- Curing: The film is then heated to melt the powder, creating a smooth, dry surface. This can be done with a heat press or a curing oven.
- Transfer: Finally, the film is placed on the garment and pressed with a heat press at the recommended temperature and pressure. After cooling, the film is peeled away, leaving the design bonded to the fabric.
Each step requires attention to detail, but with practice, you'll develop a rhythm that yields consistent, high-quality transfers.
Why Choose DTF Over Other Printing Methods?
When you compare DTF printing to alternatives like screen printing, DTG, or vinyl, several benefits stand out:
- Versatility: Works on almost any fabric, including cotton, polyester, nylon, and leather.
- No Color Limitations: Full-color designs with gradients and fine details are possible without extra cost.
- Durability: When applied correctly, DTF transfers withstand repeated washing without fading or cracking.
- Low Setup Cost: No screens or plates needed, making it ideal for small batches and one-off designs.
- Speed: Once your workflow is set, you can produce multiple transfers quickly.
For small businesses or personal crafters, these advantages translate to more creative freedom and better profit margins.
Essential Equipment for DTF Printing
To get started with DTF printing, you'll need a few key pieces of equipment:
- DTF Printer: A dedicated printer that uses DTF inks (CMYK plus white). Epson conversions are popular, but there are also purpose-built models.
- DTF Film: PET film sheets or rolls designed for DTF printing. It comes in matte and glossy finishes; matte is generally easier to handle.
- Hot-Melt Adhesive Powder: Available in fine or coarse grades. Fine powder is better for detailed designs.
- Heat Press: A reliable heat press capable of reaching 320°F (160°C) and applying even pressure.
- Curing Oven or Heat Gun: For melting the powder, though a heat press can also be used.
- Software: RIP (Raster Image Processor) software to manage color profiles and print settings.
While the initial investment can be significant, the versatility and low cost per print make it worthwhile for many.
Tips for Successful DTF Transfers
Even with the right equipment, results can vary. Here are some practical tips to ensure your DTF transfers look great and last long:
1. Master Your Heat Press Settings
Temperature, pressure, and time are critical. For most fabrics, set your press to 320°F (160°C) and press for 10-15 seconds with medium pressure. Always test with a scrap piece first. Too much heat can scorch the fabric or cause the film to curl; too little heat means the adhesive won't fully activate.
2. Handle the Film Carefully
After printing and powdering, avoid touching the printed area. Oils from your fingers can interfere with adhesion. Store unused film in a dry, dust-free environment.
3. Choose the Right Powder
Fine powder works best for intricate designs, while coarser powder is suitable for bold, simple graphics. Apply generously but shake off excess thoroughly to prevent a rough texture.
4. Peel with Care
Wait for the transfer to cool completely before peeling (cold peel). This allows the adhesive to set and prevents the design from stretching or tearing.
5. Wash Inside Out
To extend the life of your DTF prints, advise customers to wash garments inside out in cold water and avoid harsh detergents or fabric softeners.
Common DTF Printing Mistakes to Avoid
Learning from others' mistakes can save you time and materials. Watch out for these pitfalls:
- Insufficient Curing: If the powder isn't fully melted, the transfer will peel off. Ensure your curing method reaches the required temperature.
- Uneven Pressure: A heat press with uneven pressure leads to patchy adhesion. Regularly check your press with a pressure gauge.
- Using the Wrong Film: Not all PET films are created equal. Use film specifically designed for DTF printing to avoid ink smearing or poor release.
- Neglecting Color Management: Without proper ICC profiles, colors may appear dull or off. Calibrate your printer and use RIP software.
By being mindful of these issues, you'll achieve consistent, professional-looking transfers.
Frequently Asked Questions About DTF Printing
How long do DTF prints last?
With proper application and care, DTF prints can last as long as the garment itself. They resist cracking, fading, and peeling even after 50+ washes when washed inside out in cold water and air-dried.
Can I use DTF on 100% polyester?
Yes, DTF printing works exceptionally well on polyester, including athletic wear and performance fabrics. The low-temperature application prevents dye migration, a common issue with other methods.
Do I need a special printer for DTF?
You can convert an existing Epson printer to use DTF inks, but it requires modifications like a bulk ink system and a RIP software. Alternatively, purchase a dedicated DTF printer for ease of use.
Is DTF printing cost-effective for small orders?
Absolutely. Unlike screen printing, there are no setup fees or minimums. You can print one-off designs at a low cost per transfer, making it perfect for personalized gifts or small business orders.
What fabrics should I avoid with DTF?
Avoid fabrics with a heavy waterproof coating or those that cannot withstand heat (e.g., some nylons or delicate synthetics). Always test on a small area first.
Final Thoughts
DTF printing opens up a world of possibilities for custom apparel. Whether you're a hobbyist looking to create unique gifts or a business owner expanding your product line, this technology offers flexibility, durability, and vibrant results. By understanding the process, investing in quality equipment, and following best practices, you can achieve professional-quality transfers right in your workshop. So why not give DTF printing a try? With a bit of practice, you'll be amazed at what you can create.