
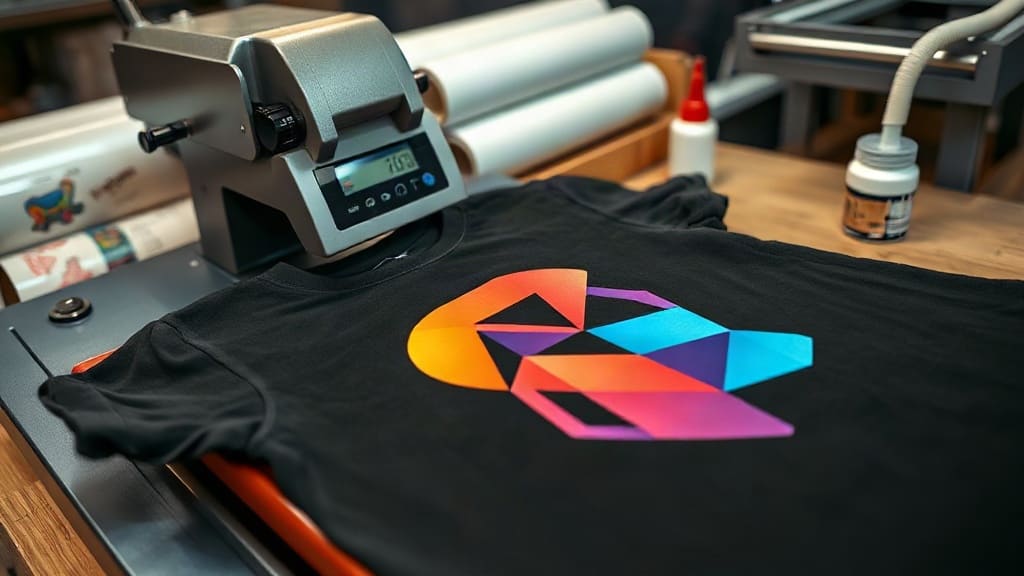
If you're looking for a versatile and cost-effective way to create custom apparel, DTF transfers are likely the answer. Unlike traditional screen printing or even DTG printing, DTF (Direct to Film) printing offers a unique blend of flexibility and quality. Whether you're a small business owner, a hobbyist, or just curious about the technology, this guide will walk you through everything you need to know about DTF transfers, from the basic process to advanced tips for getting the best results.
What Are DTF Transfers?
DTF transfers are a method of printing where a design is printed onto a special PET film, coated with adhesive powder, and then heat-pressed onto a fabric. The result is a durable, vibrant print that can be applied to a wide range of materials, including cotton, polyester, blends, and even leather. Unlike screen printing, there's no need for screens or setup charges, making it ideal for both small runs and large orders.
The process involves a specialized inkjet printer that uses CMYK plus white ink to print the design onto the film. After printing, an adhesive powder is applied to the wet ink, and the film is then cured to bond the powder to the ink. When you're ready to apply the transfer, you simply place it on the garment and apply heat and pressure with a heat press. The adhesive melts and bonds the design to the fabric, creating a soft, stretchy print that can withstand many washes.
Why Choose DTF Transfers?
There are several reasons why DTF transfers have become so popular in the custom printing industry. First, they offer incredible versatility. You can print on almost any fabric, including dark colors, without needing a white underbase because the white ink is printed as part of the design. This saves time and reduces complexity.
Second, DTF transfers are cost-effective for short runs. There are no screen setup costs, so you can print just one item or a hundred without a significant price difference per unit. This makes them perfect for made-to-order businesses, personalized gifts, or testing new designs.
Third, the quality is outstanding. The prints are vibrant, sharp, and have a soft hand-feel. Unlike vinyl, DTF transfers don’t have a thick, plasticky layer; they feel like part of the fabric. And they are durable, withstanding repeated washing and wear without cracking or fading.
The DTF Transfer Process Step by Step
To get the best results with DTF transfers, it's essential to understand the entire process. Here’s a breakdown of each step, from preparing your design to the final press.
Step 1: Design and Print
Your design should be created in a graphics program like Adobe Illustrator or Photoshop. Ensure it is high-resolution (at least 300 dpi) and in a color mode that includes white. The printer uses a special RIP (Raster Image Processor) software to separate the colors and lay down the CMYK and white ink layers. The white ink is typically printed first as a base, then the CMYK colors on top, or vice versa depending on the printer and RIP.
It’s crucial to set up your file correctly. For dark garments, you might want to print a white underbase beneath the entire design to ensure colors pop. For light garments, you can sometimes skip the white base, but it’s often still used to make colors more vibrant.
Step 2: Applying Adhesive Powder
Once the design is printed on the film, you need to apply the hot-melt adhesive powder. This is a fine powder that will bind the ink to the fabric. You can apply it manually by shaking it over the printed film, or use a shaker machine for even coverage. Make sure the powder covers the entire printed area, including the white base if present. After applying, remove the excess powder by tilting the film and tapping it off.
Step 3: Curing the Film
The film with the powder needs to be cured to melt the adhesive and bond it to the ink. This is typically done in a curing oven or with a heat press using a low temperature and light pressure. The goal is to melt the powder just enough to make it stick to the ink, but not so much that it flows and blurs the design. A common method is to use a heat press at around 160°C (320°F) for about 15 seconds with light pressure, but follow the powder manufacturer's recommendations for best results.
Step 4: Pressing the Transfer
Now you're ready to apply the transfer to your garment. Preheat your heat press to the recommended temperature (usually between 150°C to 170°C or 300°F to 340°F). Place the garment on the press, smooth out any wrinkles, and position the transfer with the printed side facing up (the film side up). The side with the adhesive should be in contact with the fabric.
Press with medium to firm pressure for about 15 to 20 seconds. The exact time and pressure may vary based on the fabric and the transfer. After pressing, it's important to peel the film while it's still hot or cold? Actually, for DTF, you typically peel hot, meaning you remove the film immediately after pressing. Some brands recommend cold peel, so check the instructions. Hot peel usually results in a matte finish, while cold peel can give a glossy look.
Step 5: Post-Press (Optional)
Some printers recommend a post-press for additional durability, especially if you plan to wash the garment frequently. This involves pressing the design again with a silicone sheet or parchment paper on top to ensure the adhesive is fully cured. This step can help prevent cracking or peeling over time.
Tips for Perfect DTF Transfers Every Time
Getting consistent, high-quality results requires attention to detail. Here are some practical tips that I've learned from experience to help you avoid common pitfalls.
- Calibrate your printer regularly: DTF printers are complex machines with multiple ink channels. Regular printhead cleaning and color calibration will ensure accurate colors and prevent banding.
- Use the right film: Not all PET films are the same. Choose a high-quality film designed for DTF printing, as it will have the proper coating to hold the ink and release cleanly from the garment.
- Control the powder amount: Too little powder will result in a weak bond, while too much can cause the adhesive to bleed outside the design lines. Find the right balance for your film and powder combination.
- Maintain consistent pressure: Your heat press should be calibrated to provide even pressure across the platen. Uneven pressure can cause areas of the design to not adhere properly.
- Test before bulk production: Always do a test press on a scrap piece of fabric to check the temperature, time, and pressure before printing a large order. This can save you from wasting materials.
- Pre-press your garments: If the garment has wrinkles or moisture, it can affect the transfer. Pre-press for a few seconds to remove moisture and wrinkles, ensuring a smooth surface.
Common Mistakes to Avoid
Even experienced printers can make mistakes. Here are some common errors and how to avoid them:
- Using too low heat: If the temperature is too low, the adhesive won't melt properly, leading to poor adhesion. Conversely, too high heat can scorch the fabric or cause the film to stick.
- Peeling too quickly or too late: Each DTF film has a recommended peel time. Some require hot peel, others cold. If you peel too early, the design might distort; too late, and the film may stick to the garment.
- Ignoring fabric type: DTF works on most fabrics, but the press conditions may vary. For example, synthetic fabrics might require lower temperatures to avoid melting.
- Not cleaning the printhead: White ink is notorious for clogging. If you don't use your printer regularly, the white ink can settle and cause blockages. Implement a maintenance schedule to keep your printer running smoothly.
DTF Transfers vs. Other Printing Methods
To fully appreciate DTF, it helps to compare it with other popular methods.
DTF vs. DTG (Direct to Garment)
DTG printing involves printing directly onto the fabric, which is excellent for large, detailed designs on cotton. However, DTG often requires pre-treatment for dark fabrics and has a higher cost per unit for small runs. DTF transfers, on the other hand, can be printed on demand and applied to a wider variety of materials without pretreatment. They also tend to be more durable on blends.
DTF vs. Screen Printing
Screen printing is the go-to for large orders because the cost per unit decreases significantly with volume. However, setup costs are high, and it's not practical for small quantities. DTF transfers offer a lower upfront cost and quicker turnaround for small batches, though the per-unit cost is higher for very large runs.
DTF vs. Vinyl (Heat Transfer)
Vinyl cutting is great for simple designs and single-color logos. It's quick and inexpensive for one-off items. But vinyl has a thick, plastisol-like feel and can be less breathable. DTF prints are thinner and more flexible, providing a softer hand-feel and better stretchability, making them more comfortable to wear.
Cost Considerations and Profitability
If you're considering starting a DTF business, you're probably wondering about costs. The initial investment includes a DTF printer (which can range from $2,000 to $10,000+), a heat press, films, inks, and powder. However, the operational costs are relatively low. For each transfer, you have the cost of film, ink, and powder, which might total a few cents per square inch.
Because you can print on demand, you don't need to hold inventory, reducing financial risk. Many entrepreneurs find that offering DTF transfers to local clothing brands or online via marketplaces like Etsy can be quite profitable. You can charge a premium for custom, personalized items that have high perceived value.
Advanced Tips for Business Use
Once you've mastered the basics, you can explore advanced techniques to expand your offerings and increase efficiency.
- Create your own transfer library: If you have designs that sell well, print them in advance and store them for fast turnaround. This is especially useful for popular sizes or generic slogans.
- Offer DTF gang sheets: Instead of printing individual transfers, you can combine multiple designs on one film sheet, reducing waste and increasing productivity. Then you cut them apart as needed.
- Invest in a powder shaker and curing tunnel: For high volume, these pieces of equipment automate the powder application and curing process, making your workflow much faster and more consistent.
- Use quality inks: Cheap inks might save money, but they can lead to color issues, clogging, and poor adhesion. Stick to reputable brands for consistent results.
- Offer custom transfers to other businesses: You can sell pre-printed transfers to other print shops that don't have DTF capabilities. This can be a lucrative B2B revenue stream.
Frequently Asked Questions about DTF Transfers
Can DTF transfers be used on any fabric?
Yes, DTF transfers are incredibly versatile. They work on cotton, polyester, blends, nylon, leather, and even some synthetic materials. However, you may need to adjust the press time and temperature for different fabrics to ensure proper adhesion without damaging the material.
How many washes can a DTF transfer withstand?
With proper application and care, DTF transfers can last for 50 or more washes without significant fading or cracking. It's important to follow the recommended press conditions and advise your customers to wash garments inside out in cold water and avoid harsh detergents or bleach.
Is DTF printing expensive?
The initial setup cost can be high if you're buying a dedicated printer and other equipment. However, the per-unit cost is low, especially if you're printing in small to medium quantities. DTF is often more affordable than screen printing for short runs and more cost-effective than DTG for dark garments.
What is the difference between hot peel and cold peel DTF film?
Hot peel film is removed from the garment immediately after pressing. This gives the print a slightly matte finish and can be more efficient for production. Cold peel film requires you to wait until the film cools before removing it, which results in a glossier finish. Some films work both ways, but it's best to stick to the manufacturer's recommendation for the specific film you're using.
Can I use DTF transfers on items other than clothing?
Yes, DTF transfers can be applied to various items like tote bags, hats, mouse pads, and even hard surfaces like wood or metal if you use the appropriate adhesive and press conditions. This opens up many possibilities for personalized products.
Final Thoughts
DTF transfers are a game-changer in the custom printing world. They offer an unbeatable combination of versatility, quality, and cost-effectiveness, making them accessible to small businesses and large operations alike. Whether you're looking to start a new venture or enhance your existing printing capabilities, mastering DTF will give you a competitive edge.
Remember, success with DTF transfers comes down to practice and attention to detail. Every fabric, film, and ink combination can behave slightly differently, so don't be afraid to experiment. Keep refining your process, and you'll be producing professional-grade transfers that your customers will love.
So, are you ready to dive into the world of DTF? If you have any questions or want to share your own tips, feel free to reach out. Happy printing!